
DIY Truck Camper

In 2013, after watching hundreds of surfing and rock climbing films, I started daydreaming about buying a Volkswagon Westy. But with a college student budget, there was no way. Eventually, I figured out an alternative. While a DIY truck camper isn’t exactly as glamorous as #vanlife, it’s the cheapest, most time-tested, and reliable way of ‘getting out there’; which is the goal after all.

Pictured on the left was my first truck camper build.
My current build is in the back of access cab Toyota Tacoma with a six foot bed, under an A.R.E. MX camper top. This model has a little more head room than the traditional cab level topper. If you have an older truck, you can find toppers all over craigslist for dirt cheap.
Before starting I spent a lot of time looking at examples on google and searching the forums on Tacoma World. I went with a modular build because it was the sturdiest and lightest option.
STEP 1: BUILDING THE BOX

The base was made using 3/8 in. plywood and the walls of the box are 3/4 in. blond plywood. The center spine is doubled (2x 3/4 in. ply). Glued and screwed on all joints. A pocket hole jig kit is helpful here as well. Two or three coats of polyurethane is necessary to help protect the wood from any moisture absorption.

Initially, I was going to make full length drawers, but after doing some research on drawer slides, shorter ones made more sense. I split the storage right in the middle; going with two 3ft drawers and two 3ft storage compartments towards the cab.
STEP 2: FACEPLATE, TOPS, AND LIFT-OUT LIDS

The faceplate is Cherry wood sealed with two coats of semi-gloss polyurethane. It’s assembled with wood glue, screwed together using the pocket hole jig, and dadoed to fit flush against the box.

The top plywood pieces are cut into four separate units in order to fit flush against the sides of the truck bed (overhanging the wheel wells). Once again using 3/4 in. blonde plywood.

For the storage compartments, we made a template out of scrap wood and traced it onto the plywood. Holes were cut out using a jigsaw and then routered to bevel the edges. For the caps, the template was traced onto a separate piece of plywood. The plywood was cut as closely as possible to match the template and then belt sanded to round the corners. Lastly, the caps where routered. Scrap 3/8 in. ply was glued and stapled underneath the main plywood to hold the caps in place.

STEP 3: DRAWERS

The drawers are made using the same materials as the box. (3/8in ply base & 3/4in ply walls). Drawers are by far the trickiest part of the build but there is tons of good literature on the web about drawer construction. Try this article.
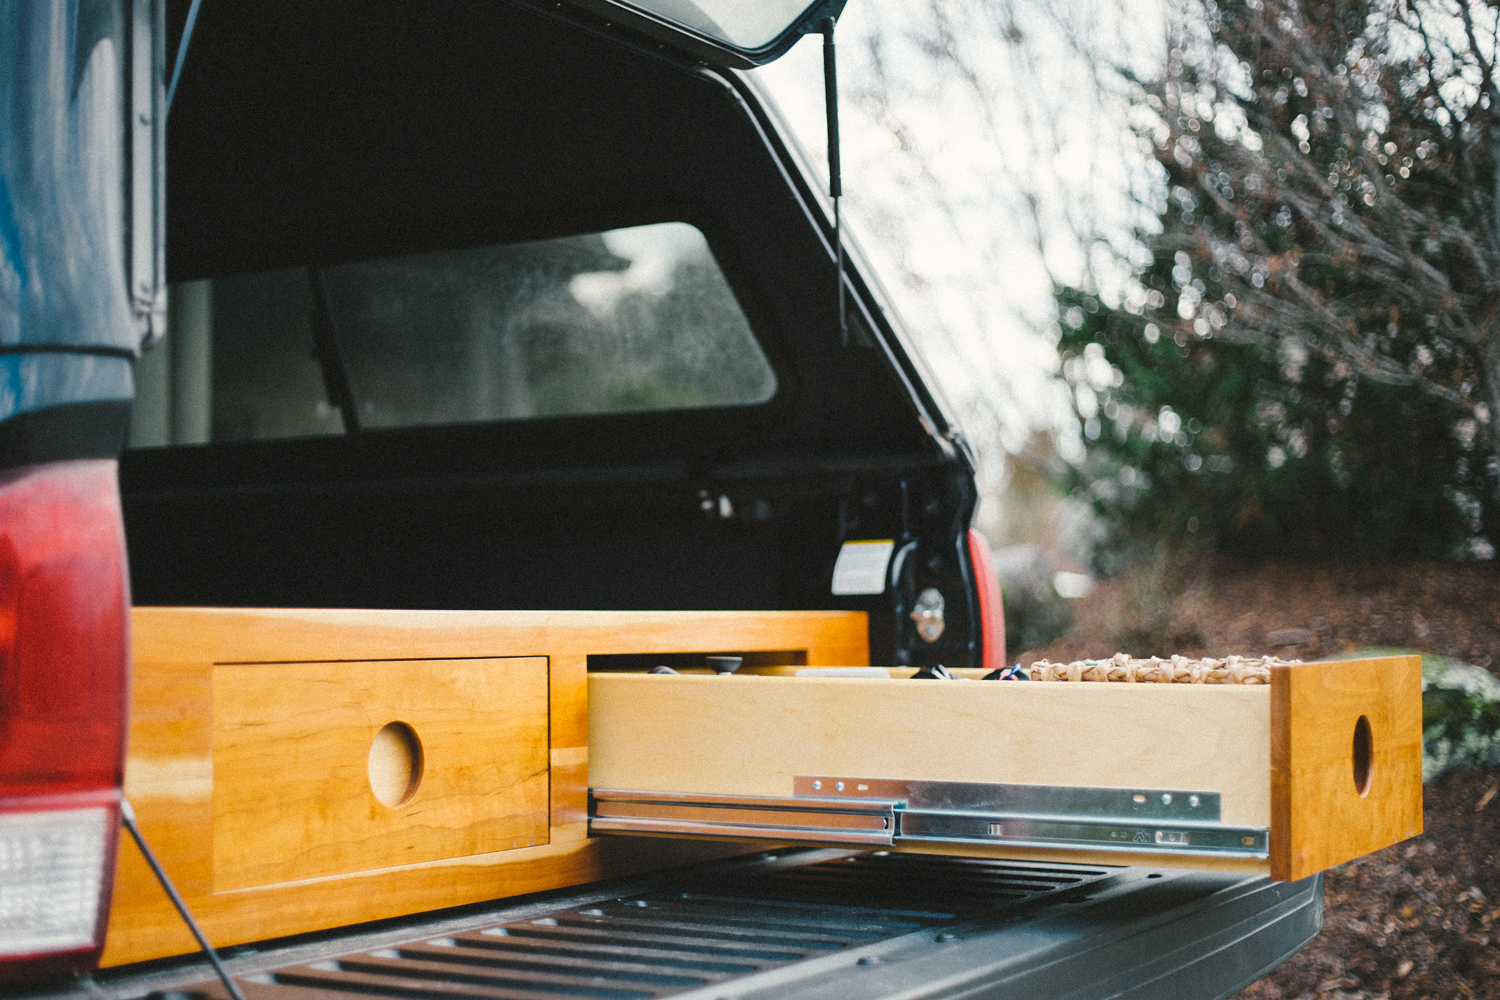
I recommend not skimping on the drawer slides. They are an important and slightly expensive consideration but they’ll make all the difference in the longevity of your build.
Words, Photos, and Build by Jon Moore